
Introduction
Visual AI tools can produce strong, usable outputs. But they can also produce results that miss the mark in confusing ways.
The problem usually is not the tool. It is the prompt.
Most visual prompting errors follow predictable patterns. People describe images with vague words that carry no visual meaning. They assume a tool works a certain way without testing that assumption. They skip structural elements that visual AI systems typically need to generate consistent output. And they sometimes overlook the ethical steps that professional use requires.
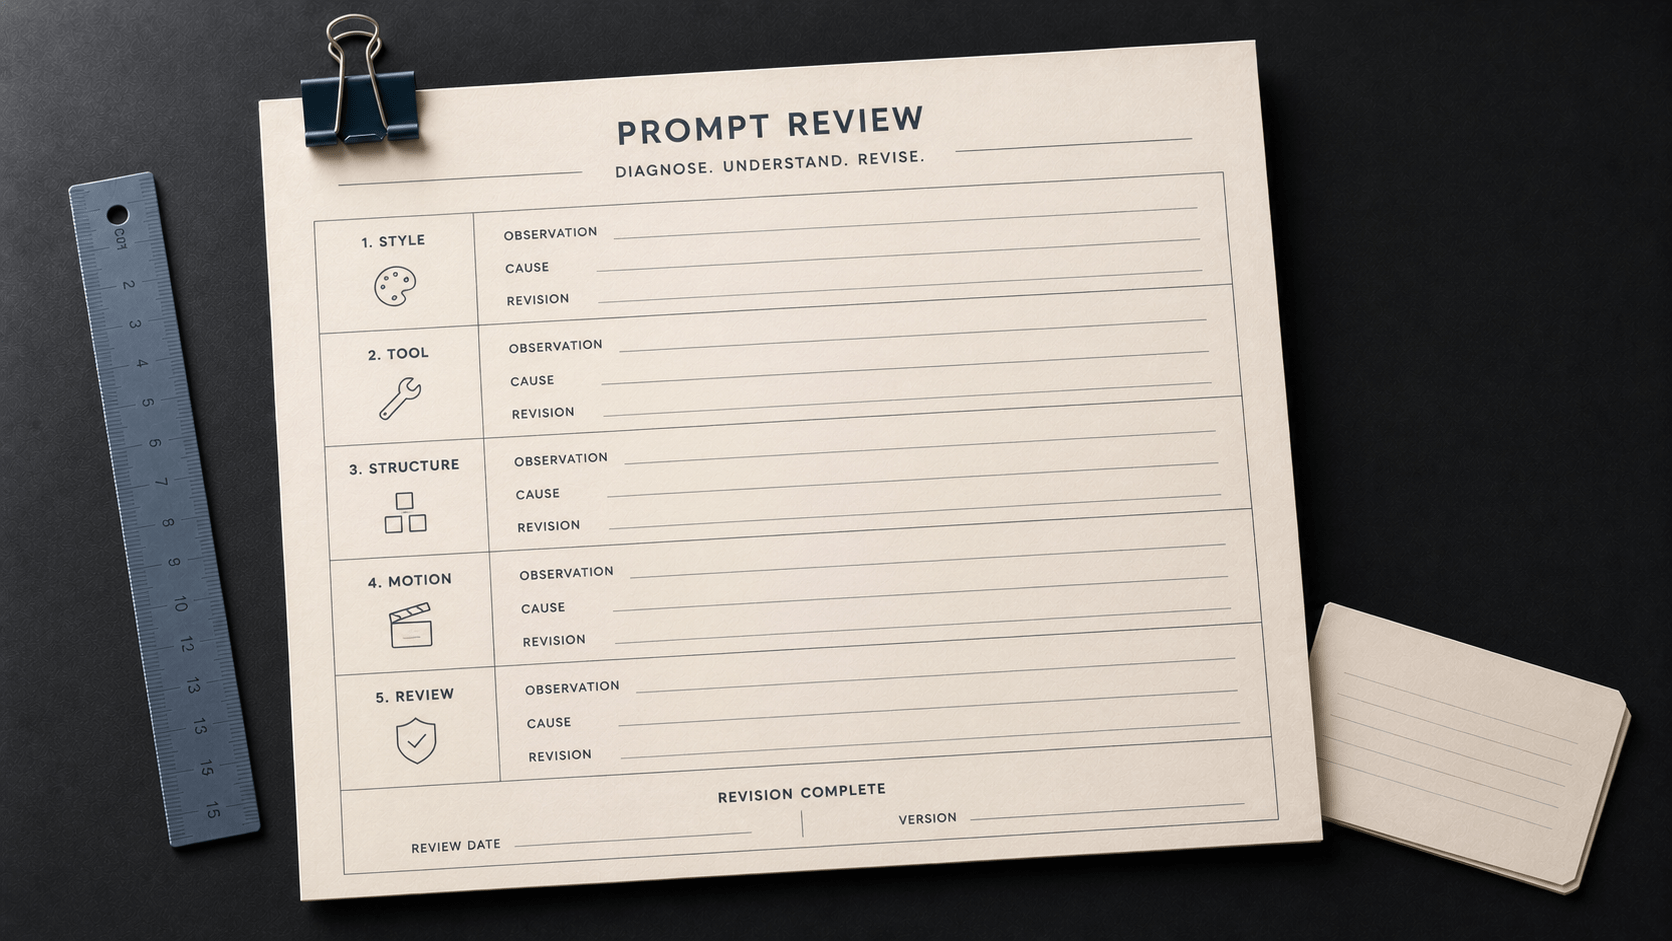
This article covers five of the most common visual AI prompting mistakes. For each one, you will find a clear explanation of what goes wrong, why it happens, and a corrected approach you can apply right away.
These patterns apply broadly across text-to-image and text-to-video tools. Results will vary depending on the specific tool, model version, and your use case. Use these corrections as a starting framework and refine through iteration.
Mistake 1: Using Vague Style Descriptors
What Goes Wrong
Words like beautiful, amazing, stunning, and realistic appear in a large share of first-draft visual prompts. They feel intuitive. But they provide almost no usable guidance to a visual AI tool.
These words describe a reaction, not a visual property. When you write realistic, the tool has no way to determine what kind of realism you mean. Photojournalism realism looks different from architectural rendering realism, which looks different from photorealistic character illustration.
The result is often output that feels technically correct but generic – a polished image that does not match what you were picturing.
Why It Happens
People write the way they would describe an image in conversation. In everyday language, words like beautiful communicate quality and intent clearly. In a visual prompt, they communicate very little.
Visual AI models respond to specific, visual language – concrete references to style, medium, lighting, composition, and mood. Abstract quality words are not anchored to any of those dimensions.
The Fix
Replace vague quality descriptors with specific visual references. Ask yourself what you actually mean by “realistic” or “beautiful,” and translate that into something the tool can act on.
| Prompt | a realistic portrait of a scientist |
| Prompt | a close-up portrait of a scientist, shot with a 50mm lens, soft natural window lighting, shallow depth of field, muted color palette, photojournalism style |
Every term in the revised prompt corresponds to a visual property the tool can interpret. Medium, lighting, depth, color treatment, and stylistic reference are all specified.
Build a short list of visual descriptors that correspond to styles you use regularly. This becomes the foundation of your prompt modifier stack – covered in detail in Article 7-2.
Mistake 2: Assuming All Visual AI Tools Work the Same Way
What Goes Wrong
Different visual AI tools have different training bases, prompt sensitivity levels, default style biases, and constraint sets. A prompt that works well in one tool may produce very different results – or fail – in another.
When practitioners move between tools without adjusting their prompts, they often get outputs that do not match expectations. They may then blame the prompt, the concept, or the tool without identifying the real cause: the prompt was written for a different system.
Why It Happens
Text-based AI tools tend to behave more consistently across different models at a surface level. Visual tools vary more dramatically. Default style, prompt weight, aspect ratio handling, and response to modifiers can differ substantially from tool to tool.
Many people start with one tool, develop a prompting approach that works, and carry that approach into a new tool without recalibrating.
The Fix
Treat each visual AI tool as a distinct system with its own prompt dialect. When you switch tools, run a calibration test before committing to a full production prompt.
A simple calibration sequence:
- Test a known prompt. Use a prompt that has worked well in another tool.
- Observe the defaults. Note what the tool adds by default: a color palette, a composition style, and a rendering approach.
- Adjust modifiers. Modify the elements that differ from your target output.
- Run a short iteration loop—two to three small tests before committing to a final prompt.
Article 7-3 details the differences among four current visual AI tools. If you are choosing between tools for a specific use case, start there.
Mistake 3: Omitting the Subject-Style-Lighting Stack
What Goes Wrong
Many first visual prompts describe only the subject. The result is often a technically competent image that feels flat or unspecific – because the tool has filled in all stylistic, lighting, and compositional decisions with its own defaults.
A prompt like “a desk with a laptop and coffee cup” will produce an image. But that image will reflect the tool’s default aesthetic, not yours.
Why It Happens
People approach visual prompts the way they would describe a photograph verbally: they name what they see. But visual prompting requires you to specify how it looks, not just what it contains.
The distinction between subject description and visual direction is not obvious to someone new to visual prompting. It is one of the core concepts that separates beginner prompts from practitioner-level prompts.
The Fix
Use a structured prompt stack. Every visual prompt benefits from at least four components:
Subject: What is in the image.
Style: The visual treatment – photographic, illustrated, rendered, hand-drawn, and so on.
Lighting: The light source, quality, and direction – natural, studio, golden hour, rim lighting, and so on.
Mood: The emotional register – clinical, warm, tense, minimal, and so on.
Aspect ratio is a fifth component worth adding when it matters for your use case.
| Prompt | a desk with a laptop and coffee cup |
| Prompt | a minimal desk setup with a laptop and white ceramic coffee cup, overhead flat-lay photography, soft diffused studio lighting, neutral tones, clean editorial style, square crop |
The structured version gives the tool specific direction across all four core dimensions. The output will typically be more consistent with your intent and require fewer iterations for correction.
For a full walkthrough of the five-component structure, see Article 7-4.
Mistake 4: Writing Video Prompts Like Image Prompts
What Goes Wrong
Text-to-video tools require motion and temporal direction – elements that are irrelevant in a static image prompt. When practitioners carry over an image-prompting style to a video tool, they often get output that resembles a slow pan or a subtle zoom over an otherwise static image.
The visual AI tool is treating the prompt as a static description because the prompt contains no motion information.
Why It Happens
Visual prompting habits develop primarily through image tools. When video tools became accessible, many practitioners applied the same approach without accounting for the structural differences required by text-to-video systems.
A text-to-video prompt needs to describe what changes over time – not just what exists in the frame.
The Fix
Add four motion-specific elements to any video prompt:
Motion description: What moves, and how. Camera, subject, environment, or all three.
Camera direction: Pan, zoom, dolly, orbit, static, and so on.
Temporal direction: What happens at the start, middle, and end of the clip.
Duration cue: The intended clip length, even if approximate.
| Prompt | a coastal road at sunset with dramatic clouds |
| Prompt | a coastal road at sunset, camera slowly dollying forward along the road, clouds drifting left to right, warm golden light deepening across a 6-second clip, cinematic wide format |
The revised prompt describes change over time. It specifies camera movement, environmental motion, and clip duration. These are the structural elements that text-to-video tools typically need to generate coherent output.
Article 7-5 covers the full structural difference between image and video prompts in detail.
Mistake 5: Skipping the Ethical Review Step
What Goes Wrong
Visual AI output can inadvertently incorporate recognizable likenesses, reference protected styles, or produce assets that require disclosure in professional contexts. When practitioners skip the ethical review step – either because it feels like overhead or because the issue is not visible in the output – they create downstream risk.
The risk is not always obvious at the point of generation. It often surfaces when the asset is used publicly, shared professionally, or embedded in commercial work.
Why It Happens
The ethical review step is easy to skip because it is not required by the tool. Visual AI tools generate images regardless of whether you have considered likeness, copyright, or disclosure. There is no built-in pause that prompts you to think through these dimensions before generating or publishing.
Practitioners who are new to visual AI often do not know which questions to ask. Those with more experience sometimes deprioritize the step when working at speed.
The Fix
Build a short ethical review into your visual prompting workflow. Run it before publishing or distributing any AI-generated visual asset.
Three questions to ask before you publish
- Likeness: Does this output resemble a real, identifiable person? If so, do you have the right to use that likeness in this context?
- Style reference: Is this output closely modeled on a specific artist’s recognizable style or a protected work? If so, is that use appropriate for your context?
- Disclosure: Does your use context require you to disclose that this image was AI-generated? When in doubt, disclose.
This review takes less than a minute. It does not require legal expertise. It requires awareness of the three key dimensions that apply to professional visual AI use.
Article 7-7 covers copyright, likeness, and disclosure responsibilities in detail. If ethical review is new to your visual prompting workflow, that article is the right place to start.
Key Takeaways
- Vague quality terms such as “realistic” or “beautiful” do not provide visual AI tools with usable direction. Replace them with specific visual properties: medium, lighting, composition, and color treatment.
- Different visual AI tools have different defaults and prompt sensitivities. Calibrate before committing to a prompt in a new tool.
- Subject-only prompts produce generic output. Use a structured stack: subject, style, lighting, mood, and aspect ratio when relevant.
- Video prompts require motion information that image prompts do not. Add camera direction, subject motion, temporal direction, and duration to any text-to-video prompt.
- Skipping the ethical review step creates downstream risk. Before publishing any AI-generated visual, check for likeness, style reference concerns, and disclosure requirements.