
Introduction
Every visual AI tool you work with – whether it generates a still image or a short video clip – responds to the same fundamental principle: the more precisely you describe the visual result you want, the more consistently the tool tends to produce it.
That precision comes from prompt modifiers for AI images. A modifier is a descriptive element added to a visual prompt to control a specific quality of the output. Modifiers tell the tool not just what to depict, but how to depict it – the style, the lighting, the mood, the format, and for video, the motion.
The difference between a modifier-free prompt and a well-stacked prompt is significant. Consider these two descriptions of the same subject:
| Prompt | A woman working at a desk. |
| Prompt | A woman in her 30s working at a minimal wooden desk, surrounded by notebooks and a laptop. Documentary photography style. Soft diffused window light from the left. Calm, focused atmosphere. 16:9 aspect ratio. |
Prompt A leaves every visual decision to the tool – style, lighting, mood, composition, and format. Prompt B defines each of those dimensions using five modifier types. In many cases, that level of specificity produces more consistent and usable results.
This article is a practical walkthrough of the five core modifier types that apply across both text-to-image and text-to-video generation. You will learn what each modifier controls, how to stack them step by step, and how to apply them to a real image task – with worked before-and-after examples throughout.
What Are Prompt Modifiers?
A visual prompt modifier is a descriptive language element that controls a specific visual quality in the output. Modifiers apply equally to text-to-image and text-to-video prompts. The five core types are the same across both output categories.
Used individually, modifiers improve the direction of an output. Used together – stacked – they tend to narrow the range of likely outputs much more precisely.
Visual AI tools do not have defaults that match everyone’s intentions. When you leave a visual dimension undefined, the tool fills it in based on its own training patterns. Those defaults may or may not align with what you had in mind. Modifiers reduce that gap by giving the tool explicit constraints to work within.
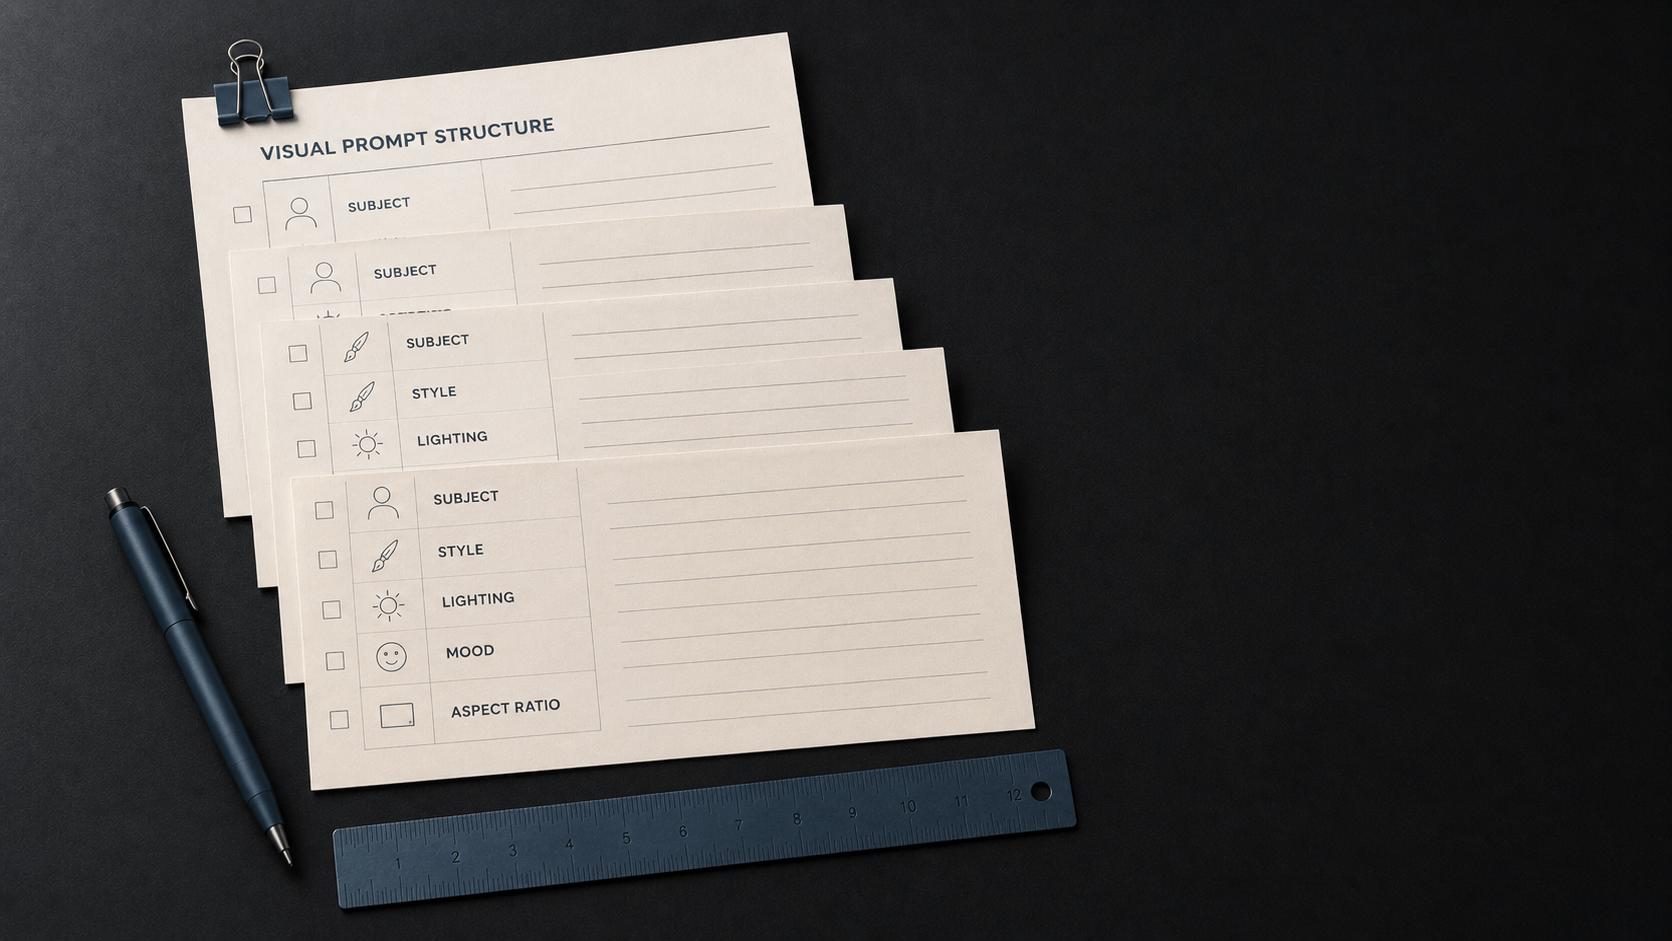
The five core modifier types are:
Subject – who or what appears, and where.
Style – the artistic or photographic treatment.
Lighting – the quality, direction, and source of light.
Mood – the emotional register or atmosphere.
Aspect Ratio – the dimensions of the output frame.
For video prompts, three additional modifiers extend this foundation: Motion (what moves and how), Duration (clip length in seconds), and Audio (for tools that support native sound generation). Those are covered in the video-specific sections of Chapter 7. This article focuses on the five core types that every visual prompt begins with.
| Modifier Type | What It Controls | Applies To | Example Phrase |
|---|---|---|---|
| Subject | What appears – people, objects, setting, scene details | Image and Video | “A woman in her 30s at a minimal wooden desk” |
| Style | The artistic or photographic treatment of the output | Image and Video | “Documentary photography style” / “watercolour illustration” |
| Lighting | The quality, direction, and source of light in the scene | Image and Video | “Soft diffused window light from the left” |
| Mood | The emotional register or atmosphere the output conveys | Image and Video | “Calm and focused” / “dramatic and tense” |
| Aspect Ratio | The width-to-height ratio of the output frame | Image and Video | “16:9” / “1:1 square” / “9:16 vertical” |
The Five Modifier Types – What Each One Does
1. Subject
The subject modifier defines who or what appears in the image and where the scene takes place. It is the foundation of any visual prompt – everything else is built on top of it.
A vague subject leaves the majority of visual decisions to the tool. A specific subject description narrows those decisions significantly.
| Prompt | A person at a desk. |
| Prompt | A mid-career professional woman reviewing printed documents at a glass desk in a quiet, sunlit office. |
The specific version defines the person (mid-career professional woman), the action (reviewing documents), the object type (glass desk), and the environment (quiet, sunlit office). Each detail reduces the range of interpretations the tool has to choose from.
2. Style
The style modifier defines the aesthetic treatment of the image. It tells the tool how the output should look – not just what it contains.
Abstract style words like “modern” or “clean” are difficult for visual tools to act on consistently. The same word can map to dozens of different visual outcomes depending on the tool and its training. More reliable style language names a recognisable visual category:
- Documentary photography style
- Watercolour illustration
- Flat vector graphic
- Realistic editorial illustration
- Film noir photography
- Graphic novel illustration
These phrases anchor the aesthetic in a way that generic adjectives cannot. Naming a style type – an era, a medium, a photographic tradition – gives the tool a stable reference to work from. Adjectives alone (‘clean’, ‘professional’, ‘nice’) carry no fixed visual meaning across tools.
This applies equally when working with GPT Image and Nano Banana 2. GPT Image tends to follow the style description literally. Nano Banana 2 may layer additional contextually inferred qualities on top – which is useful when you want atmospheric richness, but requires more explicit constraints if strict style adherence matters.
3. Lighting
Lighting shapes mood, realism, and depth. It is one of the most effective modifiers for moving an output from generic to purposeful – and one of the most frequently underspecified.
“Good lighting” or “well-lit” gives the tool almost nothing to work with. Specific lighting language does significantly more:
- Soft diffused window light from the left
- Harsh overhead fluorescent lighting
- Golden-hour warm light from behind
- Low-key dramatic side lighting
- Bright, diffused natural light from a large window on the right
Directional cues – “from the left,” “overhead,” “from behind” – often produce noticeably different outputs even when the subject and style modifiers remain unchanged. Lighting direction is a high-leverage adjustment that costs almost nothing to include and tends to produce meaningful improvement in output specificity.
4. Mood
Mood describes the emotional register or atmosphere you want the output to convey. It works alongside lighting and subject to produce visual coherence across all elements of an image.
Mood modifiers describe a feeling or atmosphere rather than a physical attribute:
- Calm, focused, and considered
- Dramatic and tense
- Warm and welcoming
- Sparse and melancholic
- Energetic and forward-moving
In many cases, mood descriptors shift the overall feeling of an output even when the physical description stays the same. They are particularly useful when producing a set of images that need to feel tonally consistent – such as a course module, a brand campaign, or a social media content series.
5. Aspect Ratio
Aspect ratio defines the dimensions of the output frame. Most visual AI tools accept aspect ratio as a direct prompt modifier, though the exact syntax varies by platform.
Choosing the right aspect ratio before generating saves time and avoids composition problems. Cropping after the fact often removes elements the tool placed intentionally within the frame.
| Aspect Ratio | Format | Common Use Context |
|---|---|---|
| 16:9 | Landscape | Course headers, YouTube thumbnails, presentations, widescreen displays |
| 1:1 | Square | Social media posts, profile images, Instagram feed |
| 9:16 | Vertical | Instagram Stories, TikTok, mobile-first content |
| 4:3 | Standard | Slides, documents, traditional screen formats |
How to Stack Modifiers – A Step-by-Step Walkthrough
Modifier stacking means combining multiple modifier types in a single prompt. Each modifier you add constrains a different visual dimension. The more dimensions you define, the narrower the range of likely outputs – and the more consistently the tool produces something aligned with your intent.
Here is how to build a stacked prompt step by step. The use case: a 16:9 header image for a blog article about professional focus.
Step 1 – Start with the Subject
Define who or what appears in the image and where. Be specific about the person, their action, and the environment.
| Prompt | A person at a desk. |
| Prompt | A woman in her early 30s writing in a notebook at a minimal wooden desk, a laptop open beside her, natural light visible in the background. |
Step 2 – Add a Style Modifier
Name the aesthetic treatment. Choose a recognisable visual category – not an abstract adjective.
| Prompt | A woman in her early 30s writing in a notebook at a minimal wooden desk, a laptop open beside her, natural light visible in the background. Realistic editorial illustration style. |
Step 3 – Add a Lighting Modifier
Specify the quality, direction, and source of light.
| Prompt | A woman in her early 30s writing in a notebook at a minimal wooden desk, a laptop open beside her, natural light visible in the background. Realistic editorial illustration style. Soft diffused window light from the left. |
Step 4 – Add a Mood Modifier
Describe the emotional register you want the image to convey.
| Prompt | A woman in her early 30s writing in a notebook at a minimal wooden desk, a laptop open beside her, natural light visible in the background. Realistic editorial illustration style. Soft diffused window light from the left. Calm, focused, and considered atmosphere. |
Step 5 – Add an Aspect Ratio Modifier
Choose the format that matches your intended use context.
| Prompt | A woman in her early 30s writing in a notebook at a minimal wooden desk, a laptop open beside her, natural light visible in the background. Realistic editorial illustration style. Soft diffused window light from the left. Calm, focused, and considered atmosphere. 16:9 aspect ratio. |
That is the complete stacked prompt. Five modifier types, each adding one layer of constraint on top of the last. The tool now has explicit instructions across subject, style, lighting, mood, and format – instead of having to fill all of those decisions with defaults.
One important note: even a well-structured stacked prompt does not guarantee a specific result. Visual AI tools produce probabilistic outputs. The same prompt submitted twice to the same tool will often produce two different results. Stacking modifiers improves the odds of a usable output – it does not eliminate variation. Iteration is normal and expected.
Before and After – Two Worked Examples
The clearest way to understand what modifiers do is to see them applied to a real task. The following two examples each show the same subject – first without modifiers, then with all five stacked.
Example 1 – Course Header Image
Use context: a 16:9 header image for an online learning module on professional communication.
| Prompt | Two people having a conversation. |
| Prompt | Two colleagues in a mid-career professional setting having a focused conversation at a round meeting table, leaning slightly toward each other. Realistic editorial illustration style, muted warm colour palette. Soft diffused overhead lighting, slightly warm. Engaged, collaborative atmosphere. 16:9 aspect ratio. |
What changed: The subject now specifies who (colleagues, mid-career), what (focused conversation), and where (round meeting table). Style, lighting, mood, and aspect ratio are all defined. The tool has five explicit constraints instead of having to generate an interpretation of a two-word brief.
Example 2 – Instagram Post Image
Use context: a 1:1 square image for an Instagram post on digital minimalism.
| Prompt | A clean, minimal workspace. |
| Prompt | A flat-lay view of a wooden desk with only a notebook, a pen, and a single cup of coffee. No screen. No clutter. Flat-lay editorial photography style, muted earth tones. Natural soft diffused daylight from above. Quiet, deliberate, unhurried atmosphere. 1:1 square aspect ratio. |
What changed: “Clean and minimal” – two abstract adjectives – became a specific subject description with explicit negative constraints (“No screen. No clutter.”). Negative constraints are useful when there are elements you want to exclude from the output. Style, lighting, mood, and aspect ratio are all explicitly defined. The tool has nowhere to default to its own interpretation of “clean.”
Note on tool behaviour: if you submit these prompts to GPT Image and Nano Banana 2, expect different results from each. GPT Image will follow the description literally. Nano Banana 2 may add contextually inferred elements – surface textures, ambient reflections, background detail – drawn from what the Gemini reasoning layer infers is plausible for the described scene. Review the output against your brief in both cases and adjust specificity if the tool is adding or omitting elements that matter to your use case.
Common Mistakes – and How to Fix Them
Mistake 1: Using Abstract Style Descriptors
Words like “modern,” “professional,” “nice,” or “clean” feel specific but give visual tools very little to work with reliably. The same word maps to different visual outcomes across tools, and even across runs of the same tool.
“Modern” in one context means flat minimal interfaces. In another, it means glass skyscrapers. In another, it means geometric print patterns from the 1970s. There is no fixed visual equivalent for the tool to anchor to.
Fix: Replace abstract adjectives with specific visual language. Name the style type, the era, the medium, or the photographic tradition.
Instead of: “A modern office.”
Try: “A minimal open-plan office with concrete floors, exposed ceilings, and floor-to-ceiling windows.”
Mistake 2: Skipping the Aspect Ratio
Many beginners generate images without specifying aspect ratio, then discover the output does not fit the intended use context. Cropping after the fact frequently removes elements the tool placed intentionally within the composition – a face cropped at the edge, a key background detail lost, a layout that no longer balances.
Fix: Decide on the use context before generating and include the aspect ratio in the prompt. Use 16:9 for landscape headers, 1:1 for social posts, 9:16 for Stories, and 4:3 for slides or documents.
Mistake 3: Assuming the Same Prompt Works Identically Across Tools
A modifier stack that performs well in GPT Image may produce a noticeably different result in Nano Banana 2 – and vice versa. Each tool has different interpretation priorities. GPT Image follows the prompt literally. Nano Banana 2 infers contextually implied elements and may add things you did not describe. Expecting identical outputs from both is a reliable source of frustration.
Fix: When switching tools, treat it as a new prompt environment. Test your existing prompt first without changes. Observe what the tool added, removed, or reinterpreted relative to your intent. Then adjust – not by rebuilding the prompt from scratch, but by shifting modifier emphasis to match what that tool responds to.
For Nano Banana 2: add more explicit constraints where you do not want contextual inference. For GPT Image: ensure your description is complete, since underspecified prompts fill gaps with defaults that may not match your brief.
Key Takeaways
- Prompt modifiers for AI images are descriptive elements that control specific visual qualities – style, lighting, mood, aspect ratio, and more – beyond the subject description alone.
- The five core modifier types are Subject, Style, Lighting, Mood, and Aspect Ratio. They apply equally to text-to-image and text-to-video prompts.
- Stacking modifiers narrows the range of likely outputs toward more consistent, usable results – though variation across runs is normal. Iteration is part of the process.
- Abstract style words like “modern” or “professional” give visual tools little to anchor to. Specific visual language – naming a style type, a medium, a lighting condition – tends to produce more reliable results.
- Aspect ratio should be defined before generating. The right format for your use context is a one-line addition that prevents composition problems after the fact.
- The same modifier stack will often produce different results in GPT Image versus Nano Banana 2. GPT Image is a literal interpreter. Nano Banana 2 infers contextually implied elements. Test in your target tool and adjust modifier emphasis accordingly.